SmartBotsLand Dashboard Features
The SmartBotsLand Dashboard is the central control panel where you can manage every feature of your Telegram bot in one place. From creating an online store and designing custom forms to managing groups, channels, and customer support, the dashboard gives you all the tools you need. In this guide, we’ll walk you step-by-step through every section of the SmartBotsLand Dashboard so you can make the most of its powerful features.
Top navigation (blue top bar)
What you see and why it matters:
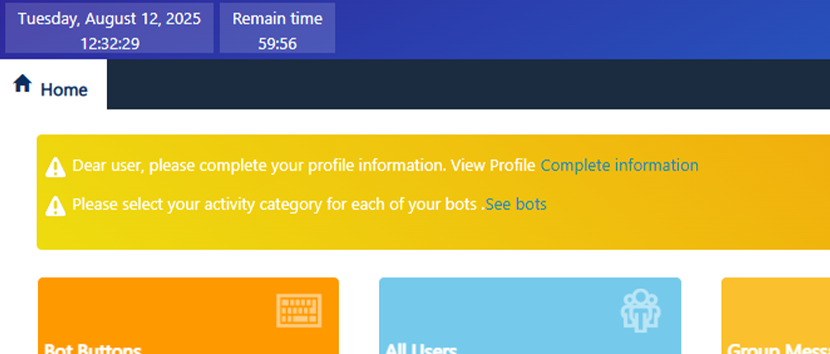
- Clock & session timer—shows current date/time and a “time remaining” counter. The panel auto-logs you out after the session expires (the site shows a 60-minute session countdown). Always save changes before the timer ends.

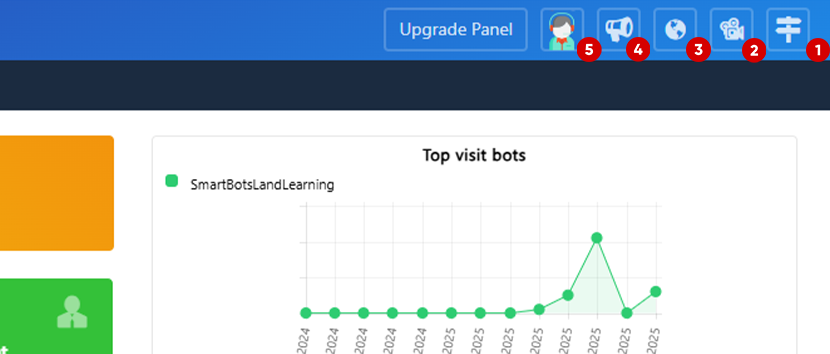
- Help / Developer docs—a quick link to web service docs for programmers if you need to connect via API.
- Video tutorials—direct access to step-by-step videos for common tasks.
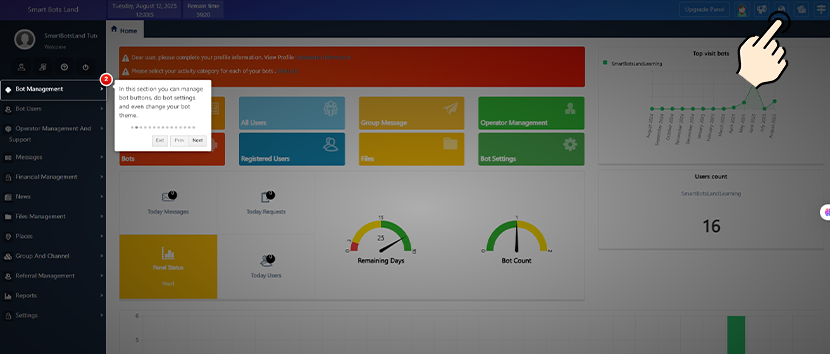
- Panel tour (Pop-ups)—an interactive guided tour that highlights UI elements with pop-ups (useful on first visit).
- News & Tickets—view product/feature news and send support tickets to the help team.
- Send Ticket To Support Team—Use “Send Ticket” when you need direct help.
- Upgrade/Renew—a shortcut to upgrade or renew your panel subscription (session info and expiry shown here).
Dashboard overview (main page)
What the dashboard shows and how to use it:
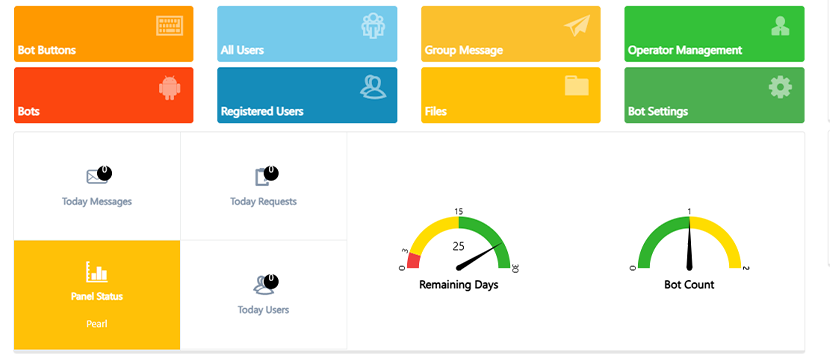
- Shortcuts (quick buttons)—buttons for the most used tools (Messages, Store, Users, and Bot buttons). Use these when you need to jump directly to a task.
- Statistics chart—shows visits and interactions over time. Use the chart to spot traffic spikes and plan messages.
- New users today—a quick count of users who started the bot today. Good for measuring campaign impact.
- Messages today—number of unread messages from users (from the “Contact system” button). Click to open the support inbox.
- Requests/Forms results—form and poll responses appear here for quick review (shows bot name, user, button name, and time).
- Panel status & counters—shows current panel status (for example, “Free”), a days-left counter, and the number of active bots registered in your account.
Practical tip: Check the dashboard first every morning—it gives the fastest sense of activity and urgent messages.
Right sidebar (main menu)—full details
 Right sidebar (main menu)—full details
This menu contains the core features. Each subsection below explains what it does, how to use it, and practical tips.
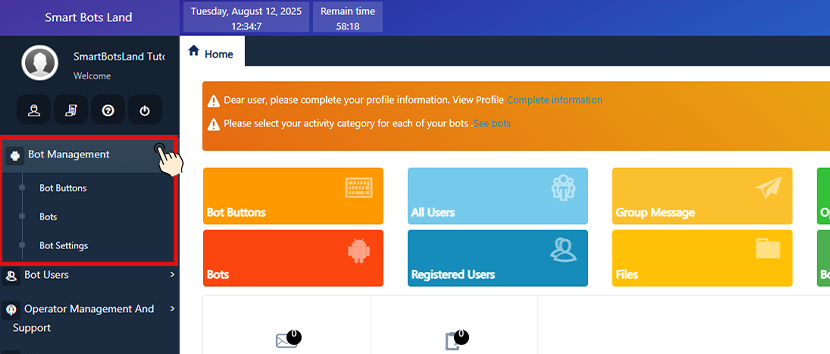
Bot Management
- What it does: Central place to edit bot details and behavior — Buttons, Choose Currency, Change the Bot Token, Bot Messages, and Button Messages.
- How to use (typical tasks):
- Open Bot Management and choose the bot from your list.
- Edit default buttons and their texts (these appear to users as the main menu).
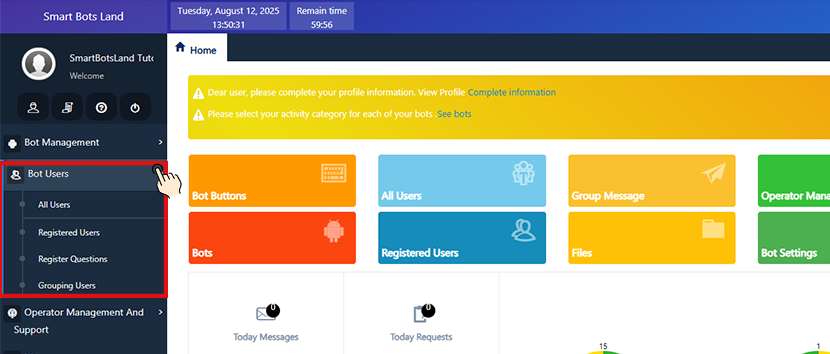
Bot Users
- What it does: See and manage all users who started your bot. Group users and manage registrations.
- Common actions & steps:
- Open Users to view the full list.
- Use filters/search to find a user by name or ID.
- Group users by tags (e.g., customers, testers) so you can send targeted messages.
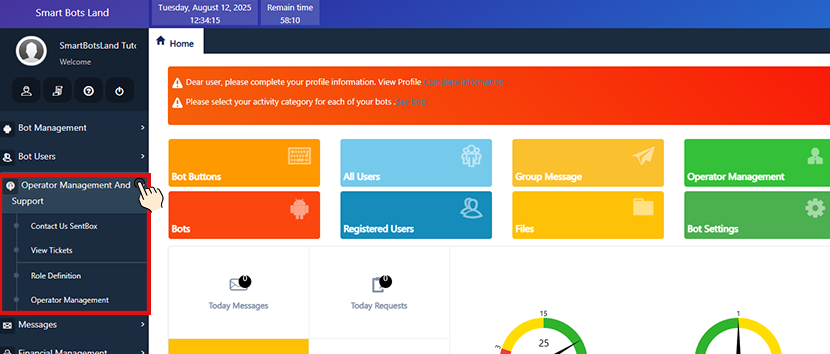
User Support (Operators & Tickets)
- What it does: Manage incoming support messages, create operator accounts, assign roles, and reply inside the panel. The panel keeps a support inbox linked to the “Contact system / Send ticket” buttons.
- How to manage support flow:
- Open Support > see the inbox with unread messages.
- Add operators: create operator accounts and set their role and permitted actions.
- Operators answer user tickets directly from the panel.
Messages (Send / Schedule / Bulk)
- What it does: Send many message types: bulk announcements, button messages, scheduled messages, and repeating messages.
- How to send a scheduled message (example):
- Open Messages > Group message.
- Compose text, add images/files (from the file manager), and attach buttons if needed.
- Choose recipients: All users, user groups, or specific segments.
- Set delivery time (schedule) or set repeating rules.
- Preview and Save/Schedule.
- Tips & rules:
- Use scheduled messages for time zones and campaigns.
- Avoid frequent bulk messages to reduce user blocking/unsubscribing.

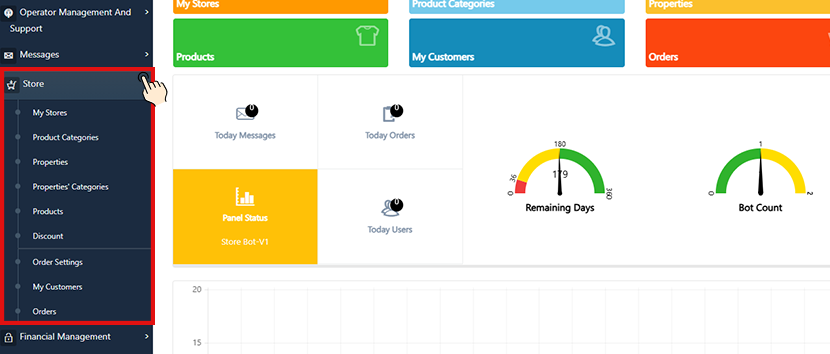
Store (Products, Orders, Payments)
- What it does: Build an online store inside your bot—add products, categories, and variations, and manage orders and payments. The panel supports digital files and physical products.
- How to add a product (step by step):
- Open Store > New Product.
- Add a title, description, and images, and choose digital or physical.
- Set price, stock (if physical), and variations (size/color) as needed.
- Attach the delivery file for digital products or set shipping details for physical goods.
- Save the product and test the order flow in the bot.
- Payments: The panel supports online payments and Manual Payment methods.
- Orders: View incoming orders in the panel, update status (paid, shipped, delivered), and deliver digital goods via the panel or operator.
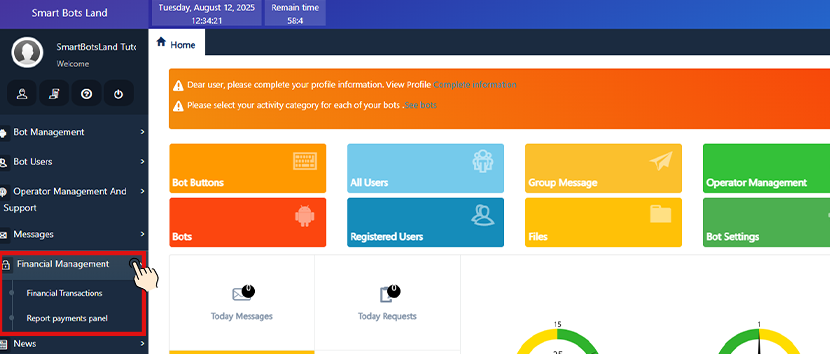
Financial Management
- What it does: Shows payment history for store orders and paid form buttons. You can filter transactions by date or user.
- How to use: Open Transactions > set filters (date range, user) > review successful/failed payments.
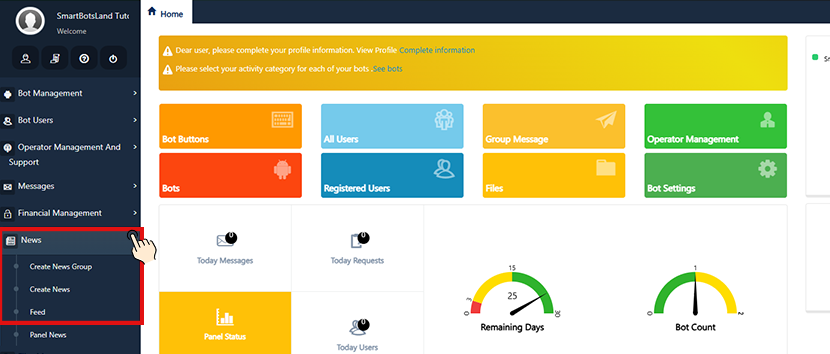
News (Announcements & RSS)
- What it does: Create a news feed inside your bot. You can add categories and set up RSS/newsfeed imports.
- How to post news: Open News > New post > choose category > add title and text > publish or schedule.
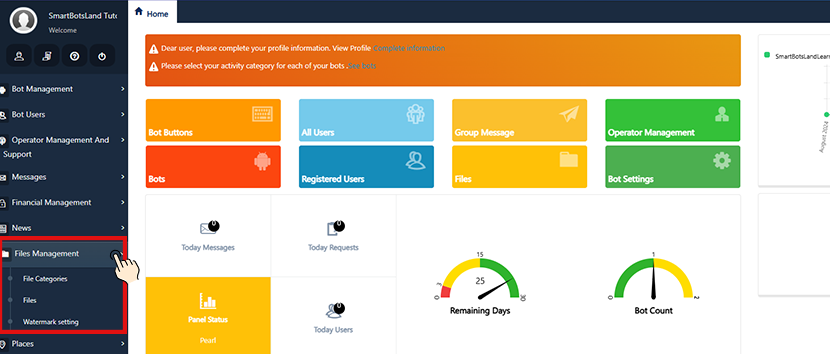
Files (File Manager / Repository)
- Important behavior: Files you upload are stored on Telegram’s servers—the panel stores and references those files (so your panel doesn’t hit a large file limit; files are read from Telegram when needed). Always categorize files for easy reuse.
- How to use: Upload files to the File Manager > assign categories/tags > use them in messages, products, or support replies.
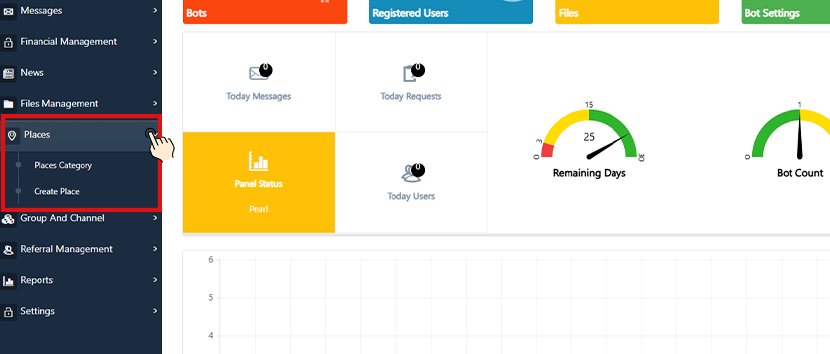
Location Finder (Addresses & Closest Branch)
- What it does: Manage multiple business locations; users can find the nearest address via the bot. Useful for pickup or service area routing.
- How to add locations: Open Location Manager > New location > name, address (or coordinates) > save. The bot can use this data to return the nearest options to the user.
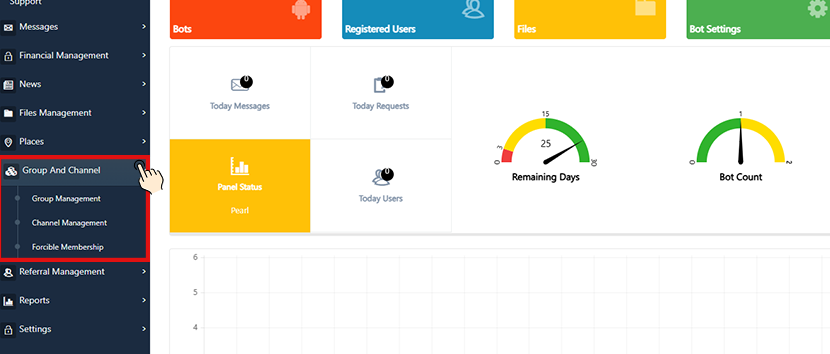
Group & Channel Management (bot as admin & forced subscription)
- What it does: Let your bot manage groups and channels: make the bot an admin, send content to channels, and set moderation rules (e.g., block images, audio, or banned words). You can enable forced channel subscription so users must join a channel to use the bot.
- How to set it up (overview):
- Add the bot to your group or channel and grant admin rights in Telegram.
- In the panel’s Group/Channel menu, enable moderation rules and forced subscription if needed.
- Tip: Test moderation in a private group before enabling it on a public group.
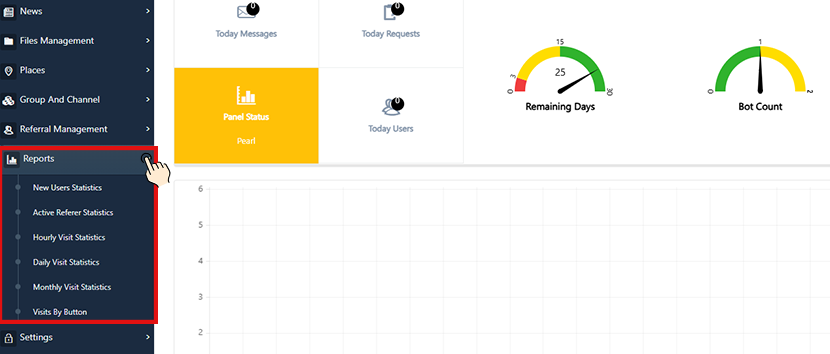
Reports (Analytics)
- What it does: View daily, monthly, and yearly reports: visits, button clicks, top bots, and usage trends. These reports help you measure user behavior and sales.
- How to use: Open Reports > choose bot and date range > view charts and tables of activity. Look for top buttons, peak hours, and product performance.
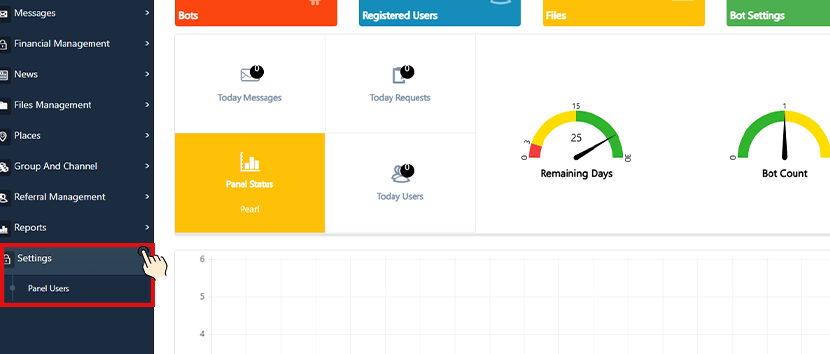
Panel Settings (panel users & permissions)
- What it does: Create extra panel users (operators/admins), assign passwords, and fine-grained permissions. This controls who can edit bots, view transactions, or respond to support tickets.
- How to do it:
- Open Settings > Panel Users.
- Add a user: set the name, email/username, and password you provide, and assign the role/permissions.
- Security tip: Use separate panel accounts for staff; limit permissions to the minimum needed.
Security & best practices (important)
- Session timeout & save often—The top bar shows a session countdown (the panel example uses a 60-minute timer). Save changes before the session ends.
- Panel user access control—Use separate panel accounts and role-based permissions so each person only sees what they need.
- Keep your Bot token secret — A bot token is the key to control your bot. Keep tokens private. If the token leaks, revoke/generate a new one via BotFather (the Telegram docs confirm tokens can be revoked with BotFather). (Telegram)
- If a token leaks, rotate it fast—revoke the old token and paste the new one in your panel. This prevents unauthorized control. (Official tutorial & common help guides show this flow.) (chat2desk.com, Telegram)
- Secrets management & leak remediation—Avoid hardcoding tokens; use secure storage. If a secret is exposed in code or repositories, follow an incident checklist: revoke, rotate, audit access, and check logs. (Security guides explain remediation steps.) (gitguardian.com)


[…] using this panel, you will be able to build and manage your advanced Telegram bot without needing programming […]
[…] Tip: Click to learn about the management panel […]